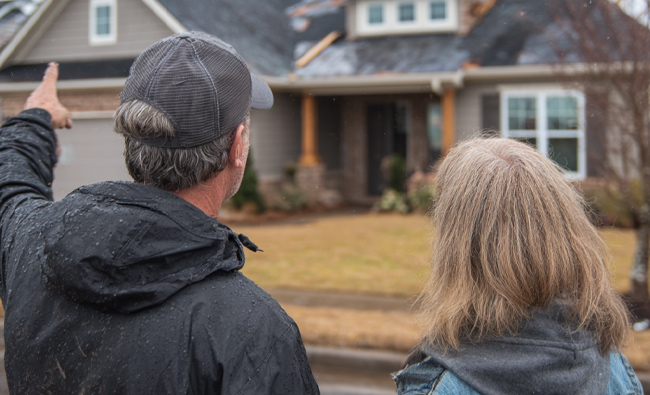
Class 4 impact-resistant shingles offer the highest level of protection against hail and severe weather. They are designed to endure harsh conditions, providing durability and reducing repair costs. This article will explain how these shingles work, their benefits, and whether they’re a smart investment for your home.
Key Takeaways
- Class 4 impact-resistant shingles are designed to withstand severe weather – including hail high winds, and even falling objects.
- The UL 2218 test certifies shingles’ impact resistance; Class 4 shingles can endure a 2-inch steel ball dropped from 20 feet without damage, making them the most reliable option.
- Investing in Class 4 shingles leads to long-term savings through reduced repair costs and potential insurance discounts, despite a higher initial investment.
Understanding Class 4 Impact-Resistant Shingles
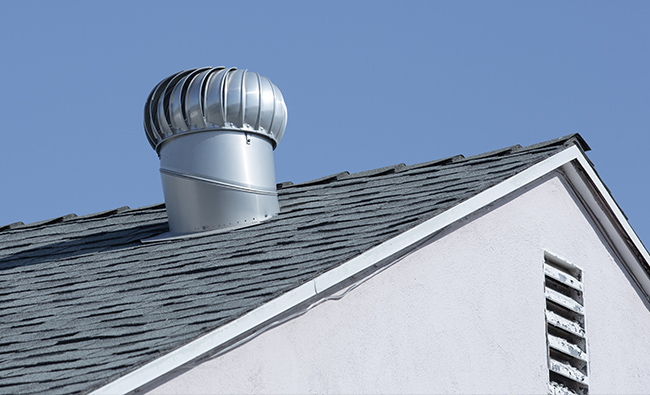
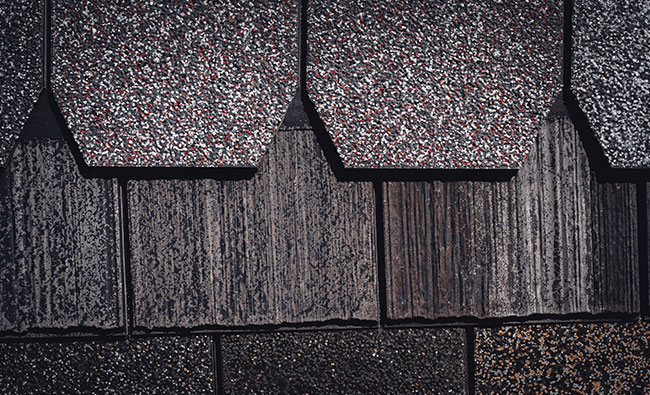
Class 4 shingles represent the pinnacle of impact resistance in roofing shingles, designed to endure the harshest weather conditions, such as hail and high winds. These standard asphalt shingles are crafted from a modified asphalt mix, often incorporating a rubber-like polymer known as SBS (styrene-butadiene-styrene), which enhances their durability and flexibility.
Engineered to absorb and dissipate impact forces, Class 4 shingles offer unparalleled protection and longevity compared to standard asphalt shingles.
What Makes a Shingle Class 4 Rated?
The journey to achieving a Class 4 impact rating begins with rigorous testing, primarily the UL 2218 impact resistance test conducted by Underwriter Laboratories. In this test, a 2-inch steel ball is dropped from 20 feet high onto the shingle to simulate the a hailstones impact. The shingle must withstand this impact without tearing or cracking to pass, earning the highest impact resistance rating.
The UL 2218 test is a gold standard in the roofing industry, ensuring that only the most durable shingles earn the four ratings of the Class 4 rating. The test results determine the shingle’s impact resistance, with Class 4 representing the industry’s highest level of protection. This stringent testing process guarantees that Class 4 shingles can endure severe weather conditions, providing homeowners with a reliable and resilient roofing solution.
Materials used in Class 4 shingles play a crucial role in their performance. Typically, these shingles are made from polymer-modified asphalt and incorporate impact-resistant granules. This composition allows the shingles to flex and absorb the energy from impacts, preventing damage and extending the roof’s lifespan.
Benefits of Class 4 Impact-Resistant Shingles
Class 4 impact-resistant shingles offer numerous benefits:
- Enhanced durability means fewer repairs and less maintenance over the roof’s lifetime, making it a cost-effective choice in the long run.
- Protection against hail damage and severe weather provides homeowners with peace of mind.
- Leads to fewer disruptions and unexpected expenses.
Additionally, many insurance companies offer discounts to homeowners who install Class 4 impact-resistant shingles, recognizing the reduced risk of damage. This can result in significant savings on insurance premiums, further enhancing the value of these advanced shingles.
How Class 4 Impact-Resistant Shingles Are Tested

Testing is critical to ensure that Class 4 shingles meet the highest standards of impact resistance. A standardized test like UL 2218 and FM 4473 simulates real-world conditions to assess how well these shingles can withstand impactful forces such as hail and debris.
These rigorous tests are essential for verifying the durability and performance of Class 4 shingles, providing homeowners with confidence in their roofing investment.
The UL 2218 Steel Ball Test
The UL 2218 test, conducted by independent organizations such as Factory Mutual (FM) and Underwriters Laboratories (UL), is a cornerstone in evaluating the impact resistance of roofing materials. Key aspects of the test include:
- A 2-inch diameter steel ball is dropped from a height of 20 feet onto the shingles, mimicking the impact of large hailstones.
- For a shingle to qualify as Class 4, it must withstand this impact without cracking or splitting.
- Passing the test showcases the shingle’s durability and resilience.
The steel ball test is designed to push the limits of the shingles, ensuring that only the toughest materials earn the highest rating. This rigorous assessment means that homeowners can trust Class 4 shingles to protect their roofs from severe weather conditions, providing peace of mind and long-lasting performance with steel balls.
FM 4473 Ice Ball Test
Complementing the UL 2218 test is the FM 4473 Ice Ball Test, which uses ice balls to simulate hail impacts. These ice balls are more uniform and denser than actual hailstones, providing a consistent and rigorous assessment of the shingles’ durability.
Together, these tests ensure that Class 4 shingles can withstand the most challenging weather conditions, offering unparalleled protection for homeowners.
Comparing Class 4 Shingles to Other Classes
Class 4 shingles overshadow the other classes due to their superior impact resistance and durability. While standard asphalt shingles and lower-class options may offer some degree of protection, they cannot match the resilience of Class 4 shingles in severe weather conditions.
This section will explore the specific differences between the various classes and why Class 4 shingles are the best choice for optimal roof protection.
Differences Between Class 1 and Class 4 Shingles
The class rating system for shingles ranges from Class 1, with the lowest level of impact resistance, to Class 4, offering the highest level of protection. Class 1 shingles can handle impacts from hailstones up to 1.25 inches in diameter, whereas Class 4 shingles can withstand hailstones up to 2 inches. This significant difference makes Class 4 shingles the most effective option for areas prone to severe weather.
Understanding these differences is crucial for homeowners to make informed decisions about their roofing materials. Opting for Class 4 shingles ensures maximum protection and longevity, making them a sound investment for safeguarding your home.
Enhanced Durability and Longevity of Class 4 Shingles
Class 4 shingles are constructed using advanced materials and design techniques that significantly boost their durability. They are made from polymer-modified asphalt and feature impact-resistant components that allow them to absorb and dissipate impact forces. This unique composition ensures that Class 4 shingles can bend and flex without cracking, providing superior protection against hail and debris.
Leading brands such as GAF Timberline AS II and IKO Nordic offer Class 4 shingles with enhanced durability features. These shingles are engineered to withstand high winds and provide a long lifespan, reducing the need for frequent repairs and replacements. By choosing Class 4 shingles, homeowners can enjoy a robust roofing system that stands the test of time.
The Importance of Impact Resistance in Roofing Systems
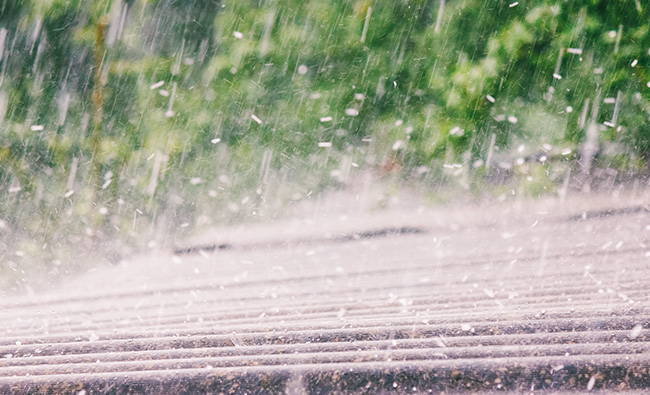
Impact resistance is a critical factor in roofing systems, especially in areas prone to severe weather. Hail can compromise a roof’s integrity, leading to leaks, mold, and other long-term problems. Class 4 shingles are specifically designed to provide the highest level of protection, allowing roofs to withstand extreme weather while maintaining their structure. Their superior durability makes them an excellent choice for homeowners seeking an impact-resistant roof capable of enduring hail and other severe impacts.
This section will delve into the specific ways impact-resistant shingles safeguard your home.
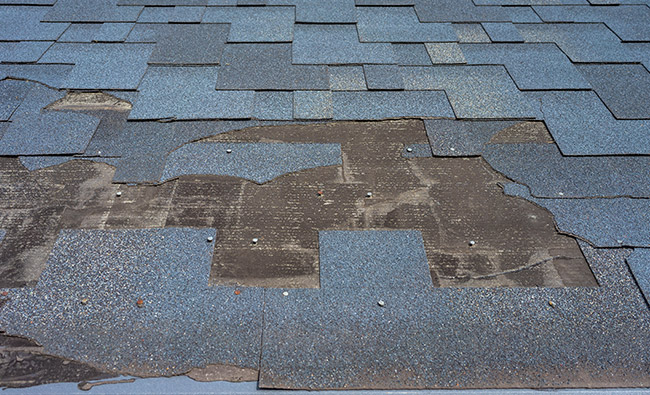
Protecting Your Roof from Hail Damage
Class 4 impact-resistant shingles are engineered to protect homes from severe weather and environmental conditions, particularly hail. These shingles offer advanced protection against hail and wind-blown debris, preventing cracks and holes that could lead to leaks and mold growth. Regular inspections and maintenance can help identify potential issues early, ensuring the longevity and effectiveness of your Class 4 shingles.
Keeping your roof clean and free of debris is also essential for maintaining the integrity of Class 4 shingles. Adhering to these maintenance tips helps homeowners maximize the benefits of their impact-resistant roofing and prevent costly repairs.
Weather Protection and Peace of Mind
Class 4 shingles provide peace of mind by ensuring that your roof can withstand extreme weather events. These shingles are built tough to resist impacts, significantly reducing the chance of damage during storms. Key points include:
- Resistance to impacts helps minimize damage during storms
- Designed to endure hail and severe weather conditions
- Provide additional security for homeowners, and often come with express or implied warranties
Knowing that your roof is protected against severe weather offers many benefits, including potential insurance discounts and reduced roof repair costs. Homeowners can rest easy knowing their investment in a new roof with Class 4 shingles will pay off in both protection and financial savings.
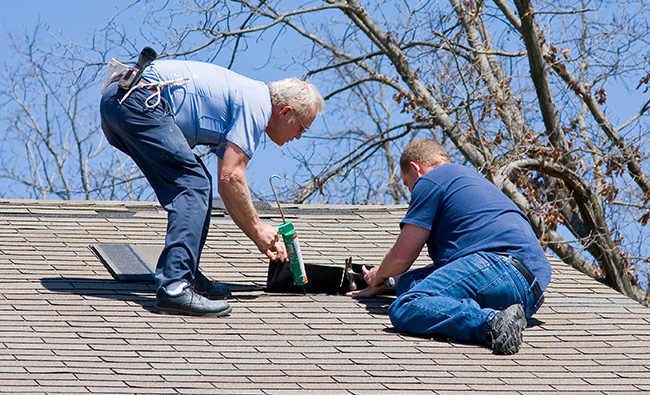
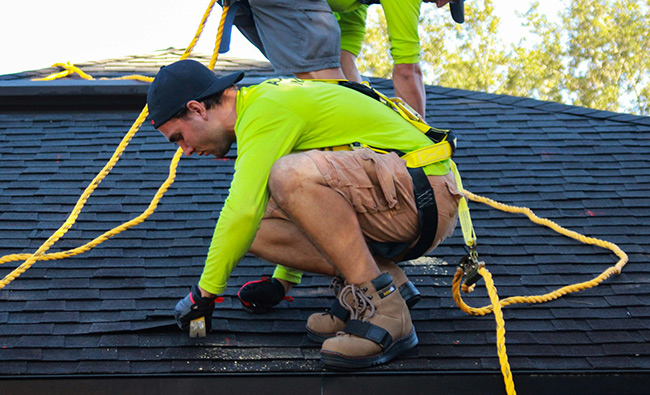
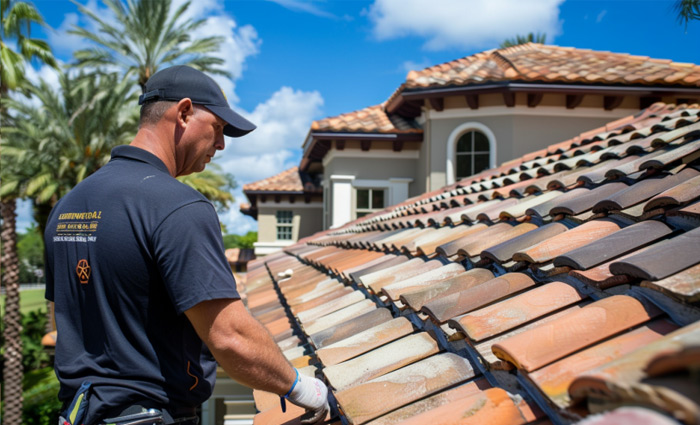
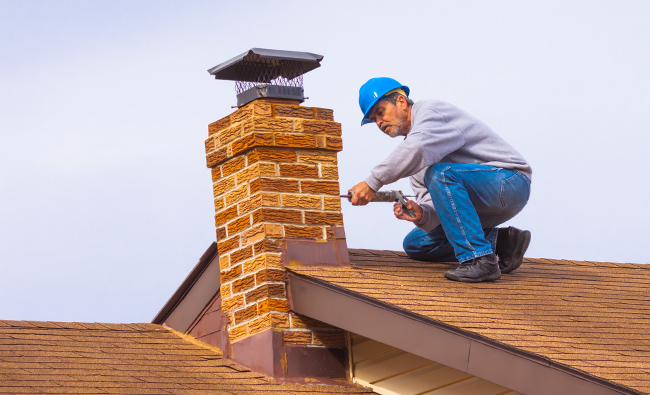
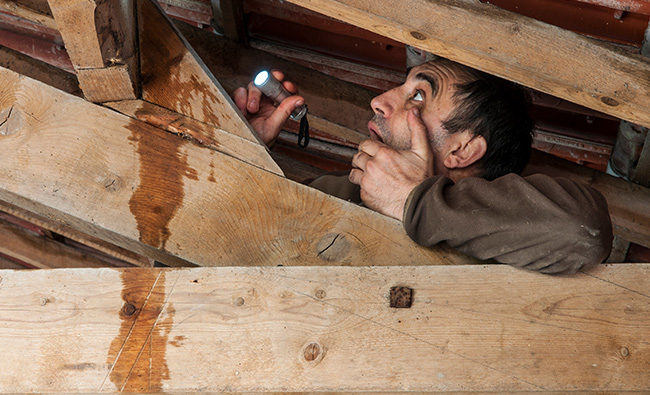
Installation and Maintenance of Class 4 Impact-Resistant Shingles
Proper installation and regular maintenance are crucial for ensuring the effectiveness and longevity of Class 4 impact-resistant shingles. This section will provide guidance on selecting the right roofing contractor and offer maintenance tips to help homeowners get the most out of their investment in Class 4 shingles.
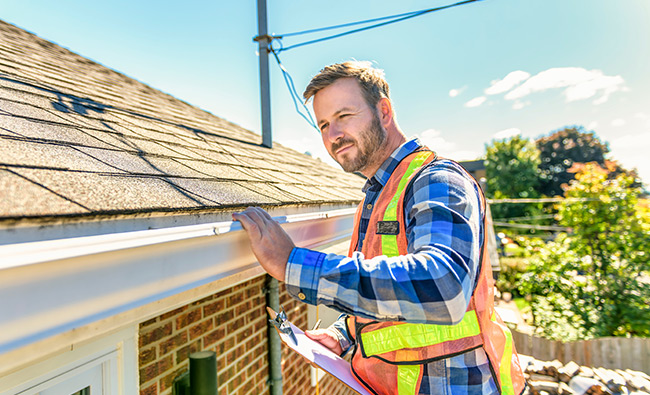
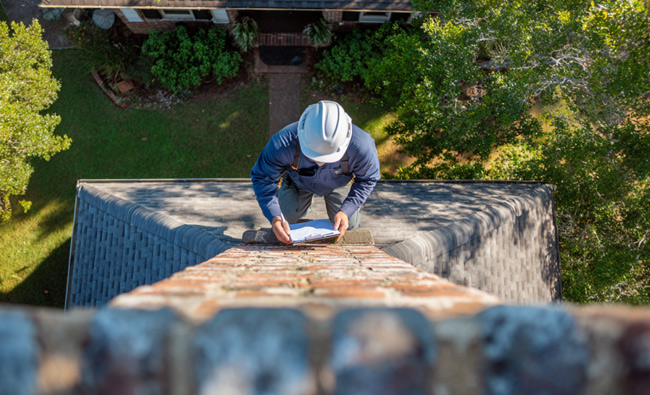
Selecting the Right Roofing Contractor
Choosing the right trusted roofing contractor is essential for the correct installation of Class 4 shingles, which directly impacts their lifespan and performance. Look for contractors who:
- Are trustworthy
- Are skilled
- Have positive reviews
- Are licensed and insured to ensure quality work
A good roofing contractor will follow the manufacturer’s instructions to properly secure and seal the impact-resistant shingles, ensuring they perform as intended. This attention to detail is vital for maximizing the benefits of Class 4 shingles.
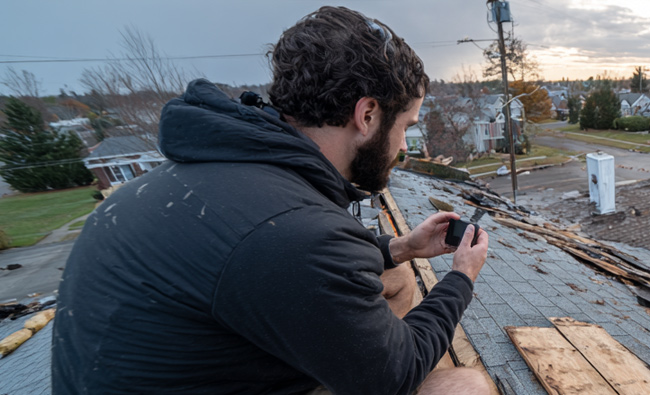
Maintenance Tips for Longevity
Regular maintenance is key to preserving the enhanced durability of Class 4 shingles. Ensure proper installation by choosing a professional roofing contractor with experience in installing these shingles. This not only maintains the warranty but also ensures the shingles function optimally.
Periodic inspections and cleaning can help prevent issues such as moisture penetration and debris buildup, which can compromise the roof’s integrity. Adhering to these maintenance practices extends the lifespan of Class 4 shingles, providing long-term benefits.
Cost Analysis of Class 4 Impact-Resistant Shingles
Investing in Class 4 impact-resistant shingles involves a higher initial cost compared to standard asphalt shingles. However, the long-term savings and benefits often justify this investment.
This section will break down the costs and compare them with standard shingle options.
Initial Investment vs. Long-Term Savings
Class 4 shingles come with a higher upfront price, but they offer significant long-term savings. Homeowners may save on insurance premiums as many companies provide discounts for homes equipped with these greater protection impact-resistant shingles. Additionally, the reduced need for repairs and replacements over time further enhances the financial benefits.
These long-term savings, combined with the peace of mind and protection they offer, make Class 4 shingles a worthwhile investment for many homeowners.
Comparing Costs with Standard Shingle Options
While Class 4 shingles are more expensive initially, the durability and protection they offer can justify the investment. Standard asphalt shingles might be cheaper upfront, but they lack the impact resistance needed to withstand severe weather, leading to more frequent repairs and replacements. This can result in higher long-term costs compared to the more durable Class 4 shingles.
Moreover, insurance companies often provide discounts for homeowners who install Class 4 shingles due to the reduced risk of damage from hail and other severe weather events. These savings can offset the higher initial costs, making Class 4 shingles a financially sound choice in the long run.
Are Class 4 Impact-Resistant Shingles Worth It?
For many homeowners, Class 4 impact-resistant shingles are indeed worth the investment. They offer added protection, long-term savings, and peace of mind, making them a valuable addition to any home.
This section will explore specific scenarios where Class 4 shingles are particularly beneficial.
For Homeowners in Hail-Prone Areas
In regions with a history of severe hailstorms, homeowners should prioritize Class 4 shingles when selecting roofing materials. These shingles are highly effective in minimizing hail damage, preventing leaks, and extending the roof’s lifespan. Using lower-rated shingles in such areas can lead to frequent repairs and higher long-term costs.
Class 4 shingles provide the highest durability and impact resistance, making them an ideal choice for hail-prone areas. Investing in these roofing products ensures that your roof can withstand the toughest weather conditions.
For Homes Surrounded by Trees
Homes surrounded by trees face the challenge of falling branches and debris, which can damage roofs. Class 4 shingles are engineered to withstand impacts from falling branches, making them suitable for properties with many trees nearby. This enhanced durability reduces the likelihood of damage and the need for frequent repairs.
Class 4 shingles allow homeowners in tree-dense environments to shield their roofs from debris, ensuring long-lasting performance. This choice offers peace of mind with enhanced protection against the elements.
Leading Brands Offering Class 4 Impact-Resistant Shingles
Several leading brands offer Class 4 impact-resistant shingles, each providing unique features and benefits. This section will highlight some of the top brands known for their quality and performance in the roofing industry.
CertainTeed NorthGate
CertainTeed NorthGate shingles have the following features:
- Utilize ClimateFlex technology, providing enhanced performance across varying temperatures
- Constructed with a fiberglass and SBS composition for resilience and durability
- Heavier construction compared to standard asphalt options, enhancing impact resistance
These features and their ability to withstand severe weather conditions make CertainTeed NorthGate shingles a top choice for homeowners seeking reliable protection and long-lasting performance.
Owens Corning TruDefinition Duration Storm
Owens Corning TruDefinition Duration Storm shingles are equipped with SureNail® Technology to prevent nail blow-through and pull-through, ensuring a secure installation. The WeatherGuard technology in these shingles enhances their resilience against hail, wind, and UV damage, providing comprehensive weather protection.
Designed to handle big hailstones and severe storms, Owens Corning TruDefinition Duration Storm shingles offer strong protection and long-term durability. Their advanced features make them a reliable choice for homeowners looking to safeguard their roofs against extreme weather.
GAF Timberline ArmorShield II
GAF Timberline ArmorShield II shingles combine impact resistance with a visually appealing design that mimics wood shakes. This aesthetic appeal, coupled with their performance, makes them a popular choice among homeowners. These shingles offer both beauty and durability, ensuring that your roof looks great while providing top-notch protection.
The advanced materials and construction used in GAF Timberline ArmorShield II shingles ensure they can withstand severe weather, offering long-lasting performance and peace of mind for homeowners.
Class 4 Shingle Summary
Class 4 Impact-Resistant Shingles are a remarkable advancement in roofing technology, offering unparalleled protection against severe weather conditions. From their rigorous testing processes to their superior materials and construction, these shingles are designed to provide long-lasting durability and peace of mind for homeowners.
Investing in Class 4 shingles comes with numerous benefits, including reduced maintenance, potential insurance discounts, and long-term savings. Whether you live in a hail-prone area or have a home surrounded by trees, these shingles offer the best protection for your roof.
In conclusion, Class 4 Impact Resistant Shingles are a worthwhile investment for any homeowner looking to enhance their roof’s durability and protection. By choosing these advanced roofing materials, you can ensure your home remains safe and secure, no matter what Mother Nature throws your way.
Frequently Asked Questions
What makes a shingle Class 4 rated?
A shingle is Class 4 rated if it successfully endures the UL 2218 impact resistance test, specifically by withstanding a 2-inch steel ball dropped from 20 feet without any damage. This rating indicates superior durability and impact resistance.
Are Class 4 impact-resistant shingles worth the investment?
Yes, Class 4 impact-resistant shingles are worth the investment due to their long-term savings, reduced maintenance needs, and potential insurance discounts for homeowners.
How do Class 4 shingles protect against hail damage?
Class 4 shingles effectively protect against hail damage by absorbing and dissipating impact forces, which helps prevent cracks and holes that can result in leaks and mold. This durability ensures enhanced roof longevity and integrity.
What brands offer Class 4 impact-resistant shingles?
Class 4 impact-resistant shingles are offered by brands such as CertainTeed (NorthGate series), Owens Corning (TruDefinition Duration Storm), and GAF (Timberline ArmorShield II). These options provide enhanced protection against hail and severe weather.
Can Class 4 shingles save on insurance premiums?
Yes, installing Class 4 shingles can lead to lower insurance premiums, as many insurers offer discounts for reduced hail-damage risk.
(352) 293-2449
For the original version of this article visit: https://roofersthevillagesfl.com/roofing-with-class-4-impact-resistant-shingles/