Your roof does more than keep the rain out. For insurance companies, it’s one of the first things they evaluate when deciding how much to charge you—and whether to cover you at all.
Insurance underwriters look at four core factors when assessing your roof: material, shape, age, and condition. Each of these elements directly influences your home insurance premiums, your coverage limits, and even your eligibility for certain policies. In many states, roof-related claims rank among the most common and expensive.
This guide walks you through the main roof shapes and roofing materials, explains how insurance companies assess each one, and shows you how to use this knowledge before a replacement or new build. The focus here is practical: how each type of roof affects your premiums, claim payouts, eligibility for coverage, and potential discounts.
What you’ll learn:
- How insurers evaluate roofs and set premiums
- The insurance pros and cons of common roof shapes (gable, hip, flat, gambrel, mansard)
- How different roof materials (asphalt, metal, tile, slate, wood, synthetic) influence your rates
- Other factors, like roof age and attachments that swing your costs
- Practical steps to lower your premium through smarter roof choices
How Insurance Companies Evaluate Roofs
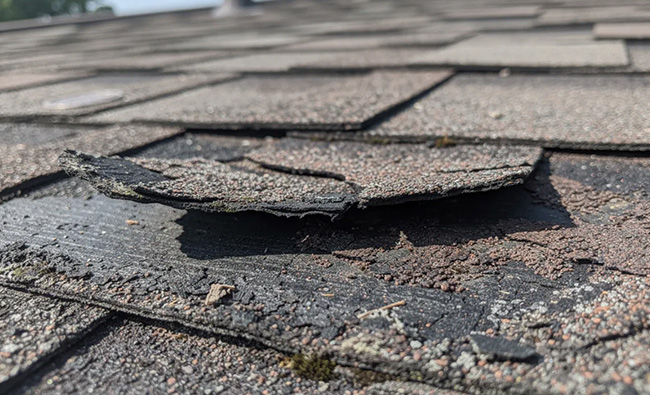
Insurers treat the roof as one of the highest-risk components of your home. It’s the first line of defense against hail damage, high winds, fire embers, and heavy rain. When any of these causes damage, the roof is usually where claims start.
Because of this exposure, homeowners’ insurance carriers put significant weight on roof characteristics during underwriting. They’re not just looking at whether your roof exists, they’re analyzing its risk profile in detail.
Key underwriting factors insurers consider:
- Roofing material: Fire resistance, impact ratings, and expected lifespan all influence how carriers price your policy. A metal roof and an old asphalt shingle roof are evaluated very differently.
- Roof shapes and pitch: The geometry of your roof determines how wind and water behave. Hip roofs perform differently from gable roofs in hurricane zones.
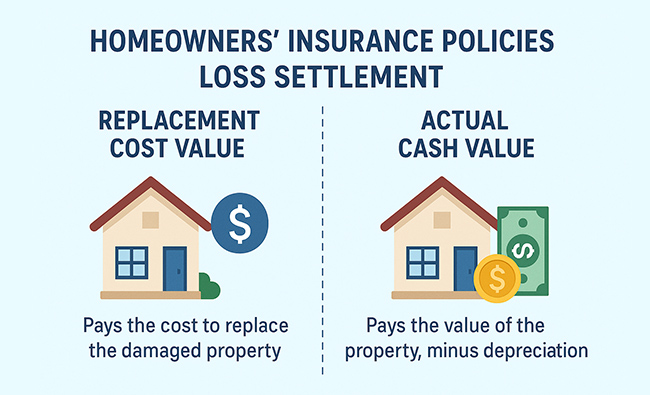
- Roof age: Many insurers tighten coverage or increase deductibles once roofs pass 15–20 years. Some switch from replacement cost to actual cash value after certain age thresholds.
- Local weather exposure: If you’re in a hail belt, hurricane zone, or fire-prone areas, underwriters weigh your roof’s ability to withstand harsh weather conditions more heavily.
- Previous claim history: Homes with prior roof claims may face higher premiums or exclusions.
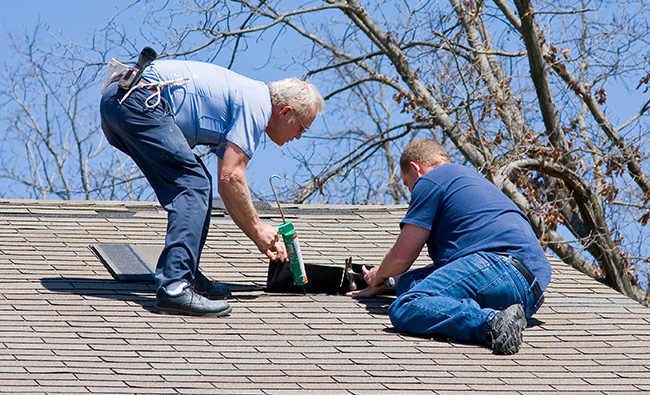
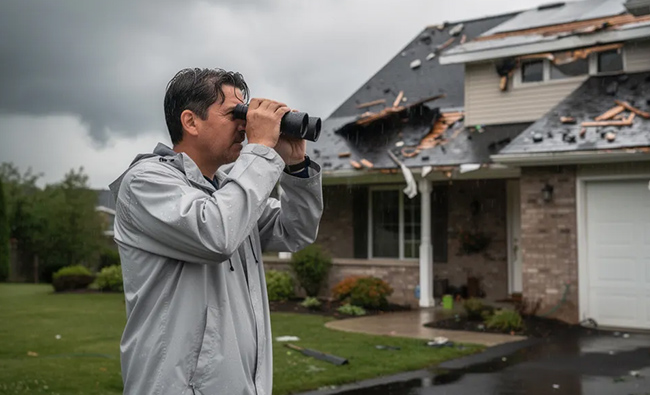
- Condition documentation: Carriers often use roof inspection reports, photos, and sometimes satellite imagery to assess the current condition before binding coverage.
- Installation quality: Subpar workmanship increases the risk of failure, which insurers factor into their pricing.
It’s also worth noting that many policies apply different coverage rules for the roof than for the rest of the structure. After your roof reaches a certain age, your policy might cover only actual cash value (depreciated) rather than full replacement cost for wind damage or hail claims.
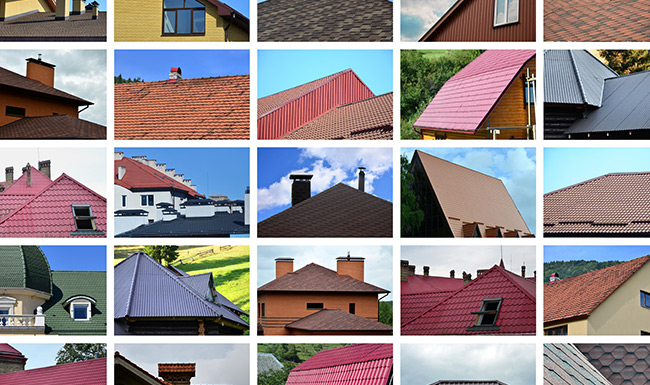
Common Roof Shapes and Their Insurance Impact
Roof geometry affects more than curb appeal. The shape of your roof determines how wind pressure builds during storms, how effectively rain runoff drains away, and how much surface area is exposed to hail and debris.
Insurers don’t “like” or “hate” specific shapes in isolation. Instead, they price the added or reduced risk that each configuration presents. In hurricane-prone Florida, for example, a hip roof might qualify for premium discounts that a gable roof wouldn’t receive. In a low-wind inland area, the difference may be negligible.
The following subsections cover the most common roof shapes from an insurance perspective, and not a design standpoint.
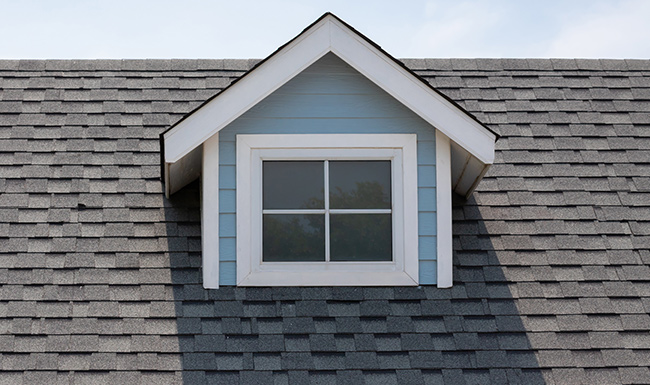
Gable Roofs
Gable roofs are among the most common roof shapes in North America. If you notice two sloping sides that meet at a ridge, forming a classic triangular shape at each end of the home, this is a gable roof.
From a drainage standpoint, gable roofs perform well. A moderate-to-steep pitch sheds water and snow effectively, which helps limit water-infiltration claims over time.
However, gable roofs are particularly vulnerable in windy regions. The open gable ends can catch high winds, creating uplift that can tear off shingles, damage sheathing, or even collapse the end wall. This makes them higher-risk in hurricane and tornado zones.
Insurance considerations for gable roofs:
- In low-wind areas, gable roofs typically receive average or moderate premiums due to their straightforward construction and good drainage
- In coastal states like Florida and the Carolinas, gable ends may lead to higher rates or stricter underwriting requirements
- Reinforcement measures (hurricane straps, gable-end bracing, improved sheathing attachment) can sometimes earn modest discounts or avoid surcharges
- Wind-mitigation inspections in some states specifically assess gable-end reinforcement
Hip Roofs
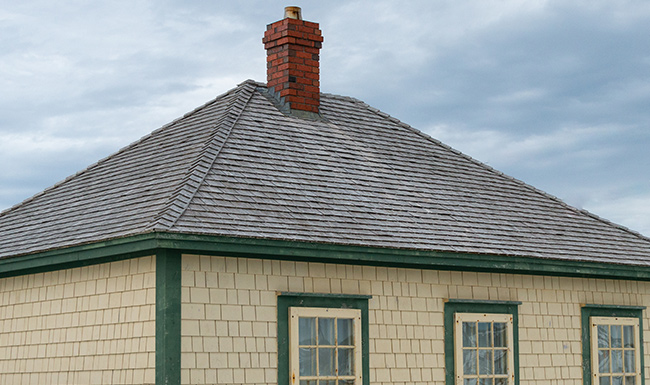
A hip roof has slopes on all four sides that meet at a ridge or converge at a single point. This design gives hip roofs more aerodynamic stability than gables because there are no flat end walls for wind to catch.
In many coastal and high-wind states, homes with hip roofs can qualify for lower windstorm or hurricane insurance premiums. Wind-mitigation inspections often document roof shape to determine eligibility for credits.
Insurance benefits of hip roofs:
- Studies and data suggest hip roofs offer 2-3 times the wind uplift resistance of comparable gable roofs
- Some insurers cite double-digit percentage savings compared to gable roofs in high-wind zones
- The construction cost is slightly higher, but long-term insurance costs can be notably lower
- Even with a hip roof, you still need proper flashing, quality underlayment, and wind-resistant covering materials to fully capture insurance benefits
For homeowners building new or replacing a roof in hurricane-prone areas, the hip roof configuration deserves serious consideration.
Flat Roofs
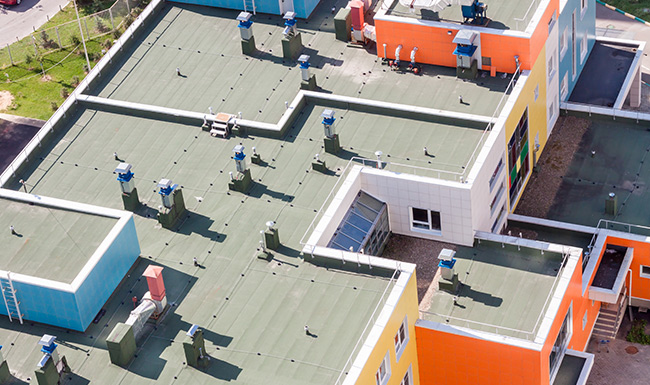
Flat roofs are low-slope systems commonly found on commercial buildings and modern-style homes. They typically use membrane materials like TPO, EPDM, or modified bitumen rather than shingles or tiles.
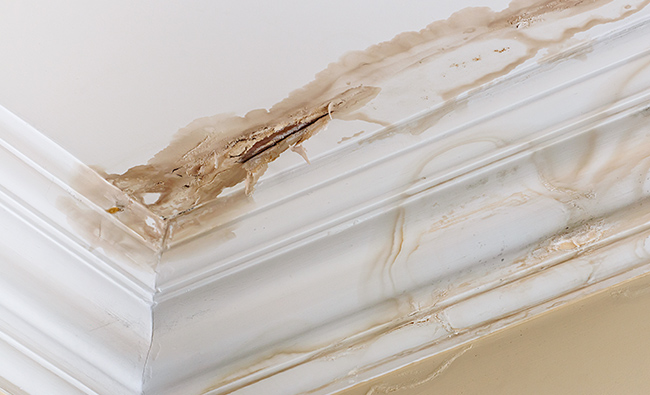
The primary insurance concern with flat roofs is drainage. Without an adequate slope, water tends to pond on the surface. This ponding, combined with debris accumulation and membrane failures, significantly increases the risk of leaks and interior water damage claims.
Insurance implications for flat roofs:
- Many insurers charge higher premiums for flat roofs due to elevated water-intrusion risk
- Older flat roofs may face limited coverage options or stricter maintenance requirements
- Some carriers decline to write new policies on homes with aging flat roof systems
- Well-designed drainage (scuppers, internal drains) and documented regular maintenance can help mitigate premium increases
- Commercial policies often factor in roof-access risks like foot traffic and HVAC equipment placement
If you have a flat roof, keeping inspection and maintenance records is especially important for avoiding claim disputes.
Gambrel and Mansard Roofs
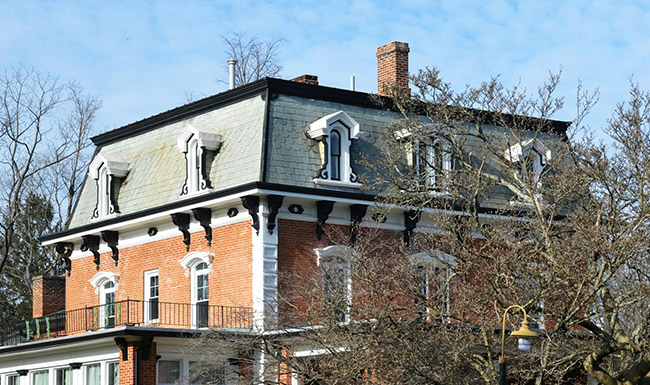
The gambrel roof features two slopes on each of its two sides, creating the familiar barn-style profile. The mansard roof applies the same concept to all four sides, with a steep lower slope and a shallower upper slope, often creating extra attic space.
Both designs increase the total roof surface area and create more edges and joints, increasing the potential for water entry and exposure to wind pressure and hail.
Insurance considerations:
- Complex framing and detailing mean higher repair costs, which insurers reflect in premiums
- More joints and transitions increase the likelihood of leaks over time
- In heavy snow areas, the steep lower sections shed snow well, but the flatter upper sections require careful design to avoid ponding and ice dams
- Insurers often treat gambrel and mansard roofs as moderate to higher-risk configurations
- The aesthetic appeal of these roof styles may potentially lead to higher insurance rates
If you’re considering a gambrel roof or mansard roof for the extra attic space they provide, factor in the long-term insurance cost implications.
Other Roof Shapes (Domes, Curved, and Specialty Designs)
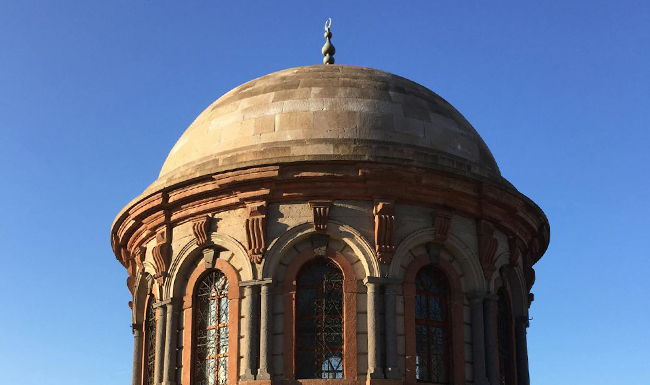
Dome and curved roofs, along with highly customized architectural designs, are most often found on high-value or unique properties. While some rounded shapes perform well in wind (there are no flat surfaces to catch gusts), they come with their own insurance challenges.
Key insurance considerations:
- Specialized construction limits the pool of contractors who can repair or replace these roofs
- Limited contractor availability and custom materials drive up repair and replacement costs significantly
- Insurers may place these roofs in higher-cost tiers or require higher dwelling limits
- Owners should work with both a contractor and their insurance provider in advance to verify coverage limits and replacement-cost assumptions
If you own a home with an architecturally unique roof, getting pre-loss documentation of replacement costs can prevent unpleasant surprises after a claim.
Common Roof Materials and How Insurers View Them
Material choice is at least as important as shape when it comes to underwriting. Your roofing material affects fire resistance, hail resistance, wind performance, and life expectancy–all factors that directly influence your insurance rates.
Insurers often rely on standardized ratings as proxies for risk:
- Fire ratings: Class A (highest), Class B, and Class C indicate resistance to fire spread
- Impact ratings: UL 2218 testing classifies materials from Class 1 to Class 4, with Class 4 products withstanding the equivalent of 2-inch hailstones
- Manufacturer wind warranties: Higher-rated products suggest better performance in high winds
The three main factors insurers weigh for materials:
- Durability: How long will this roof last before needing replacement?
- Repair cost: When damage occurs, how expensive is it to fix?
- Total-loss risk: How likely is catastrophic damage from fire, hail, or wind?
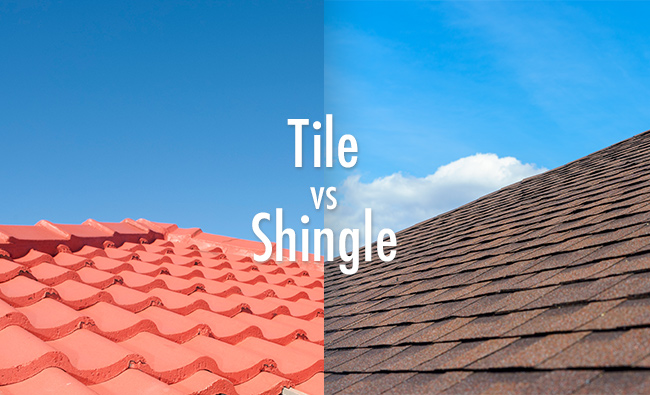
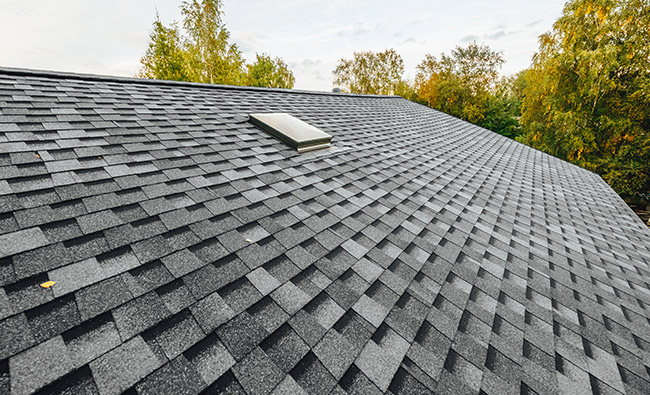
Asphalt Shingles
Asphalt shingles are the most popular roofing material in the United States, covering approximately 80% of residential homes. Standard three-tab shingles, typically last 15–25 years, depending on climate and product quality.
From an insurance standpoint, an asphalt shingle composition roofing product is very predictable. These roofs are relatively inexpensive to replace, which helps keep claim severity moderate. Insurance companies assess them as middle-tier risk—not the best, but far from the worst.
Insurance considerations for asphalt shingles:
- Standard three-tab shingles may perform poorly in severe hail and high winds
- Architectural (dimensional) shingles offer improved durability
- Class 4 impact-resistant shingles can significantly lower premiums in hail-prone states
- Many insurers offer specific “hail-resistant roof” credits when policyholders install and document Class 4 products
- IBHS studies suggest Class 4 materials reduce hail claims by a significant percentage
The cost-effectiveness of asphalt shingles makes them accessible, but upgrading to impact-resistant versions often pays for itself through insurance savings over time.
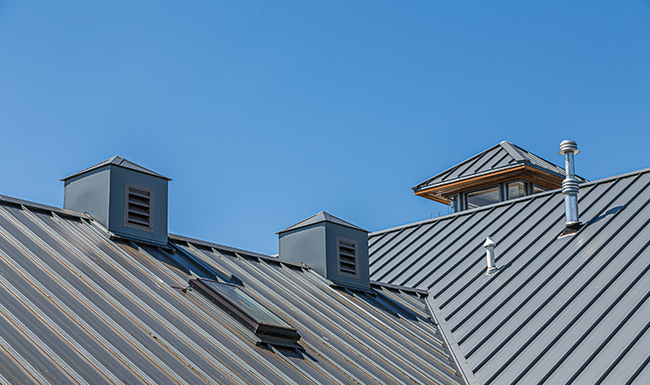
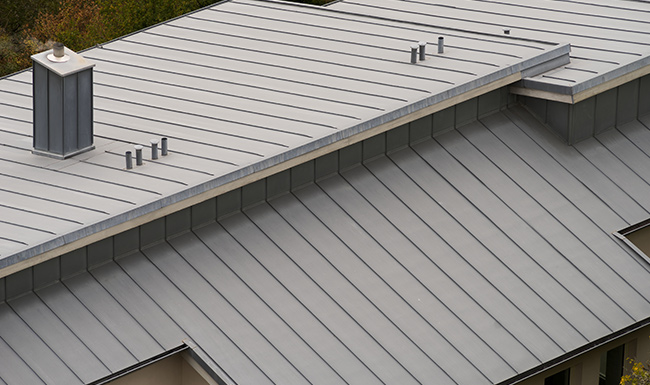
Metal Roofing
Metal roofs—including standing seam systems and metal shingles—are lightweight, durable, and long-lasting. A properly installed metal roof can last 40–70 years, far outlasting most other materials.
For insurers, metal roofs check several important boxes. Their exceptional durability and strong fire resistance make them particularly valuable in wildfire-prone states like California. In Southern states like Georgia and Alabama, metal roofs can earn premium discounts of up to 25%.
Why insurers favor metal roofs:
- Class A fire resistance reduces ignition risk from embers
- High wind resistance makes them suitable for hurricane zones
- Many products achieve Class 3 or Class 4 impact ratings
- Snow and debris shed effectively from the smooth surface
- Long lifespan means fewer replacement claims over time
One caveat: cosmetic denting from hail may not be covered if it doesn’t impair the roof’s function. Review your policy language carefully regarding cosmetic damage exclusions before assuming all hail damage will be covered.
While the initial installation cost exceeds that of asphalt, many insurers treat metal as a “preferred” roofing material due to lower long-term risk.
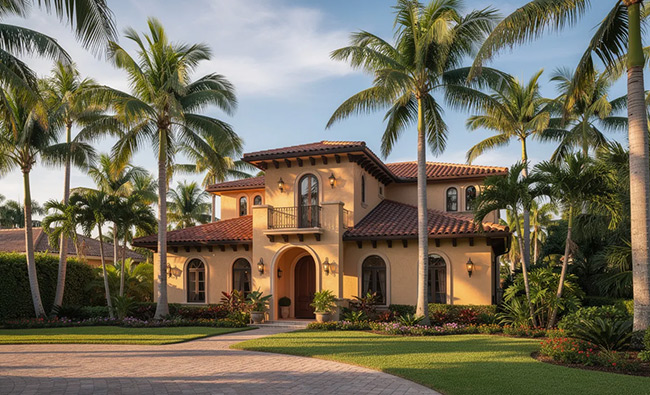
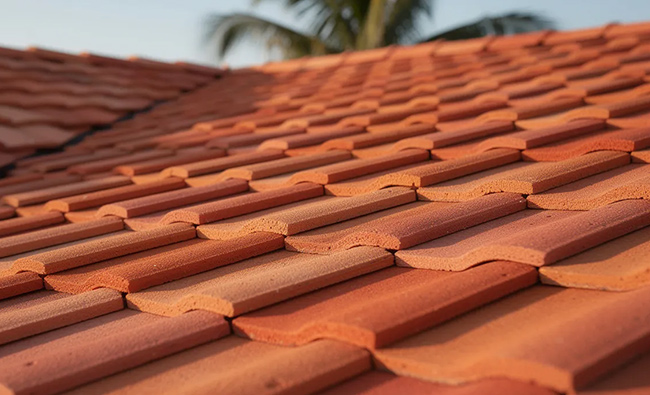
Clay and Concrete Tile Roofs
Clay tiles and concrete tiles are heavy, long-lasting materials commonly seen in warmer climates like California, Florida, and the Southwest. They offer excellent fire resistance, rot immunity, and minimal maintenance over lifespans often exceeding 50 years.
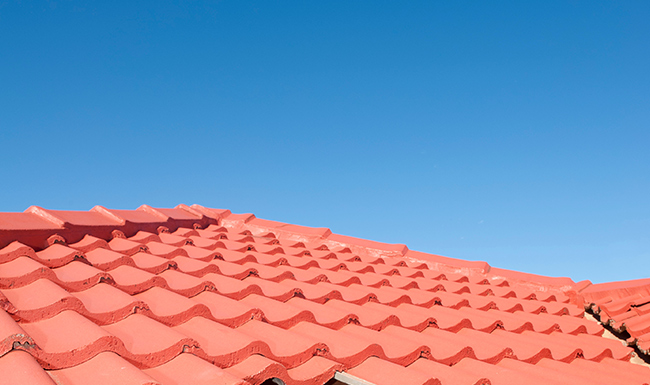
From an insurance perspective, tile roofs present a mixed picture.
Advantages:
- Class A fire ratings make them favorable in fire-prone areas
- Long lifespan reduces frequency of replacement claims
- Strong resistance to rot and insect damage
Challenges:
- Heavy roofing materials require structural adequacy verification
- Wind-driven debris and hail can crack tiles
- Skilled labor is required for repairs
- Matching older tiles can be difficult and expensive
- Underlayment failure can occur even when tiles look intact
Insurers may carefully scrutinize older tile roofs, requesting inspection documentation before providing or renewing coverage. Annual premiums for tile roofs typically range from $1,000 to $1,500–lower than many alternatives, but claim severity can be high when damage occurs.
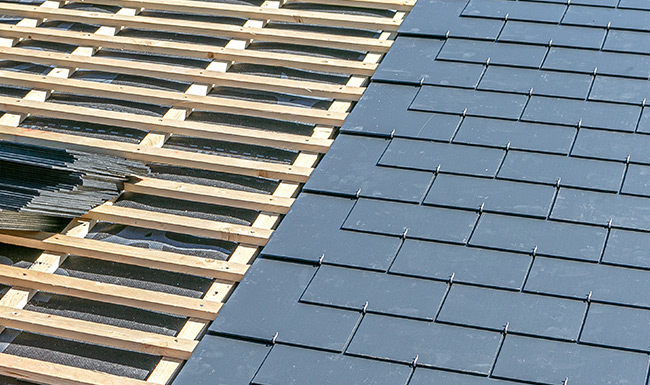
Slate Roofing
Slate roofs represent the premium tier of roofing materials. Natural stone slate can last 75–100+ years with minimal maintenance, offering unmatched longevity and Class A fire resistance.
However, slate roofs create unique underwriting challenges due to their extremely high replacement costs.
Insurance profile for slate roofs:
- Low fire and decay risk reduces claim frequency
- Extremely high repair costs and specialized labor increase claim severity
- Heavy weight may require proof of structural adequacy
- Hail and impact damage can crack individual slabs
- Repairs are typically done piece-by-piece, driving up claim amounts even for partial damage
- Annual premiums can range from $1,000 to $1,500
Insurers view slate as a low-frequency but high-severity material. You’re less likely to file claims, but when you do, they tend to be expensive.
Wood Shingles and Shakes
Wood roofs—including cedar shingles and shakes—offer natural aesthetic appeal and were historically common across the country. Today, they face significant insurance scrutiny.
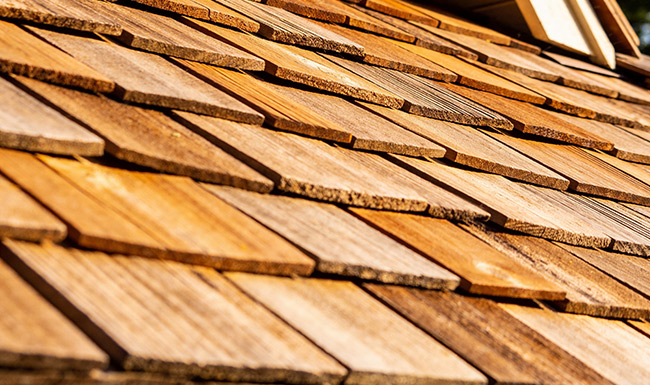
Major insurance concerns:
- High flammability creates substantial fire risk, especially from windborne embers
- Many insurers in fire-prone regions charge significantly higher premiums, restrict coverage, or decline new business on untreated wood roofs
- Susceptibility to mold, mildew, and insect damage leads to more frequent maintenance and repairs
- Timely repairs and regular treatment are essential to maintain insurability
Modern fire-retardant treatments can improve wood’s insurability, achieving Class A assembly ratings in some cases. However, not every insurer will accept treated wood as equivalent to inherently fire-resistant materials.
If you have an older, untreated wood roof, proactively contact your insurer before assuming replacement coverage will be available after a loss.
Synthetic and Composite Roofing (Including Impact-Resistant Products)
Synthetic roofing products are engineered to mimic the appearance of wood, slate, or shake while offering superior performance characteristics. Products like CeDUR shakes, for example, achieve both Class A fire ratings and Class 4 impact resistance.
Insurance benefits of synthetic roofing:
- Many products achieve Class A fire and Class 4 impact ratings simultaneously
- Lighter weight than natural slate or tile reduces structural concerns
- Lower maintenance requirements than natural wood
- Insurers in hail-prone and fire-prone states often reward these ratings with premium discounts of 10-30%
Because these are newer technologies, some carriers may have limited historical loss data. You may need to provide documentation of UL ratings and manufacturer certifications to qualify for specific discounts.
Before selecting a synthetic brand, verify with your insurance provider which ratings qualify for credits in your state.
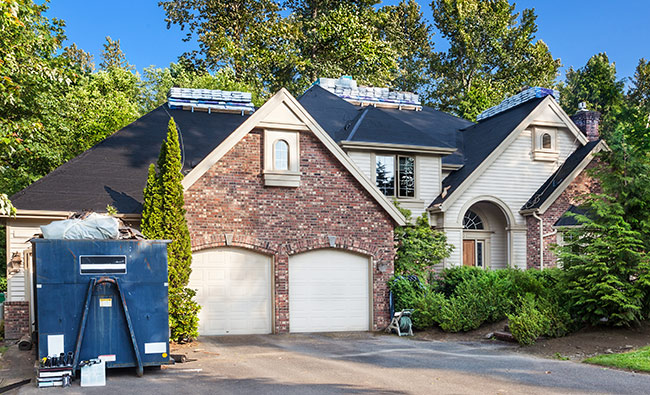
Other Roof Factors That Change Insurance Costs
Beyond shape and material, several other factors can swing your premiums and coverage in either direction.
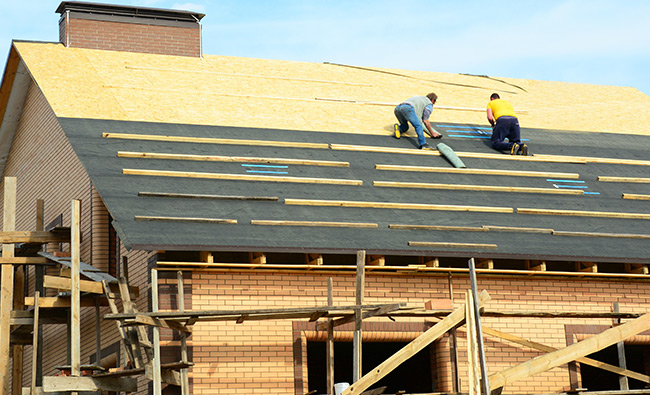
Roof age is a major consideration. Many insurers reduce coverage or switch to actual cash value once a roof reaches 15–20 years for asphalt roofs or 30+ years for longer-lasting materials. An old roof that’s past its expected lifespan may face non-renewal, especially in markets that have tightened after recent catastrophe losses. Conversely, a new roof often improves your standing with insurers.
Underlayment, decking, and fastening systems also matter:
- Modern water-resistant membranes and ice-and-water shield in cold climates reduce leak risk
- Hurricane clips and enhanced fastening in wind zones improve wind damage resilience
- These improvements can qualify for discounts through programs like IBHS FORTIFIED Roof certification
Common attachments that increase risk:
- Skylights (additional leak paths)
- Solar panels (more penetrations, potential damage, complexity)
- Rooftop HVAC units (weight, additional sealing requirements)
- Chimneys with poor flashing
- Satellite dishes
- Walkable roof decks or rooftop gardens
Each attachment creates potential leak paths and claim complexity. Insurers factor these into their underwriting.
Maintenance matters too. Keeping gutters and drains clear, documenting inspections, and making timely repairs all reduce the likelihood of denied claims for neglect. Regular maintenance can also improve your standing with underwriters at renewal time, helping to achieve lower insurance costs.
Energy efficiency features like cool roof coatings and proper ventilation, while primarily aimed at reducing energy costs, can also extend roof life and reduce thermal stress—indirectly benefiting your insurance profile. Some newer solar panel installations on energy-efficient metal roofs may even qualify for additional incentives.
Which Roof Types Insurance Companies Tend to Prefer
If you’re wondering what insurance companies favor most, here’s the synthesis:
Materials insurers typically prefer:
- Class 4 impact-resistant asphalt shingles
- Standing-seam metal roofs
- Fire-rated tile and composite systems
- Durable materials with documented certifications
Shapes insurers typically prefer:
- Hip roofs in high-wind and hurricane zones due to superior wind resistance
- Steeper pitches that shed water and debris effectively
Configurations that often earn the best pricing:
- Hip roof shape combined with impact-resistant materials
- Documented wind-mitigation features (hurricane straps, reinforced connections)
- Roofs under 10-15 years old with good maintenance records
In wildfire zones, non-combustible materials like metal, tile, and rated synthetic products are often preferred, or even required, to maintain coverage.
It’s important to note that what an insurer “likes most” varies by company guidelines, state regulations, and current catastrophe exposure. There’s no single universal favorite—the right roof for lower premiums in Colorado’s hail belt may differ from the ideal choice in Florida’s hurricane zone.
Practical Steps to Lower Your Premium with Smarter Roof Choices
You can often influence your long-term insurance costs by planning roof replacements with risk and rating in mind—not just aesthetics and upfront price.
Before replacing your roof:
- Contact your agent first. Confirm what discounts exist for Class 4 impact resistance, Class A fire rating, hip roof configurations, or certified wind-mitigation features. Ask specifically how much each factor is worth in premium reduction.
- Understand age-based coverage changes. Ask at what age your policy switches to actual cash value for hail or wind damage. This information helps you evaluate whether a shorter-life material (cheaper upfront) or a longer-life material (better long-term value) makes more sense for your situation.
- Factor in the right roofing material. Compare the upfront cost difference against potential insurance savings over 20-30 years. A $5,000 premium on metal over asphalt might pay for itself through lower premiums and fewer claims.
- Consider the roof style impact. If you’re in a high-wind area and building new, the additional cost of a hip roof over a gable may be offset by decades of lower insurance rates.
After installation:
- Keep all records: invoices, product data sheets with UL ratings, installation photos, and any inspection reports
- These documents may be required to apply discounts or support future claims
- Store copies digitally where they won’t be lost to the damage you’re trying to claim
Ongoing maintenance:
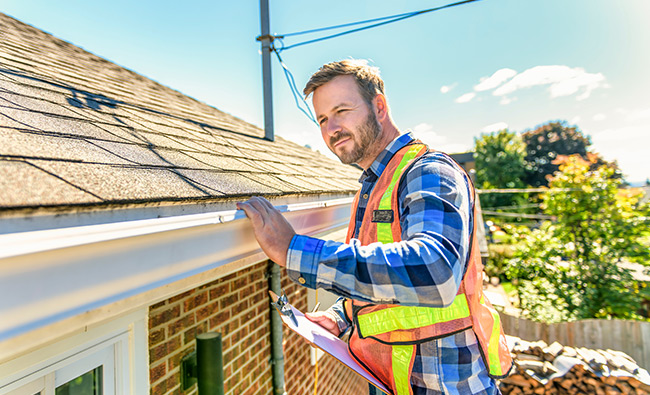
- Schedule regular inspections, especially before and after storm seasons
- Document any repairs with photos and receipts
- Keep gutters, drains, and flashing in good condition
The goal is to choose the right roof that balances purchase price, expected lifespan, local weather risks, and insurance implications. For many homeowners, this means spending more upfront for durable materials and favorable shapes that deliver lower premiums and fewer costly repairs over decades.
Your next step: Before your next policy renewal or the next major storm season, review your current roof condition with both a qualified roofer and your insurance provider. Understanding how your roof affects insurance now—rather than after a loss—puts you in a much stronger position to protect both your home and your budget.
(352) 293-2449
For the original version of this article visit: https://roofersthevillagesfl.com/roof-types-for-insurance/